Making a Home/Project Studio
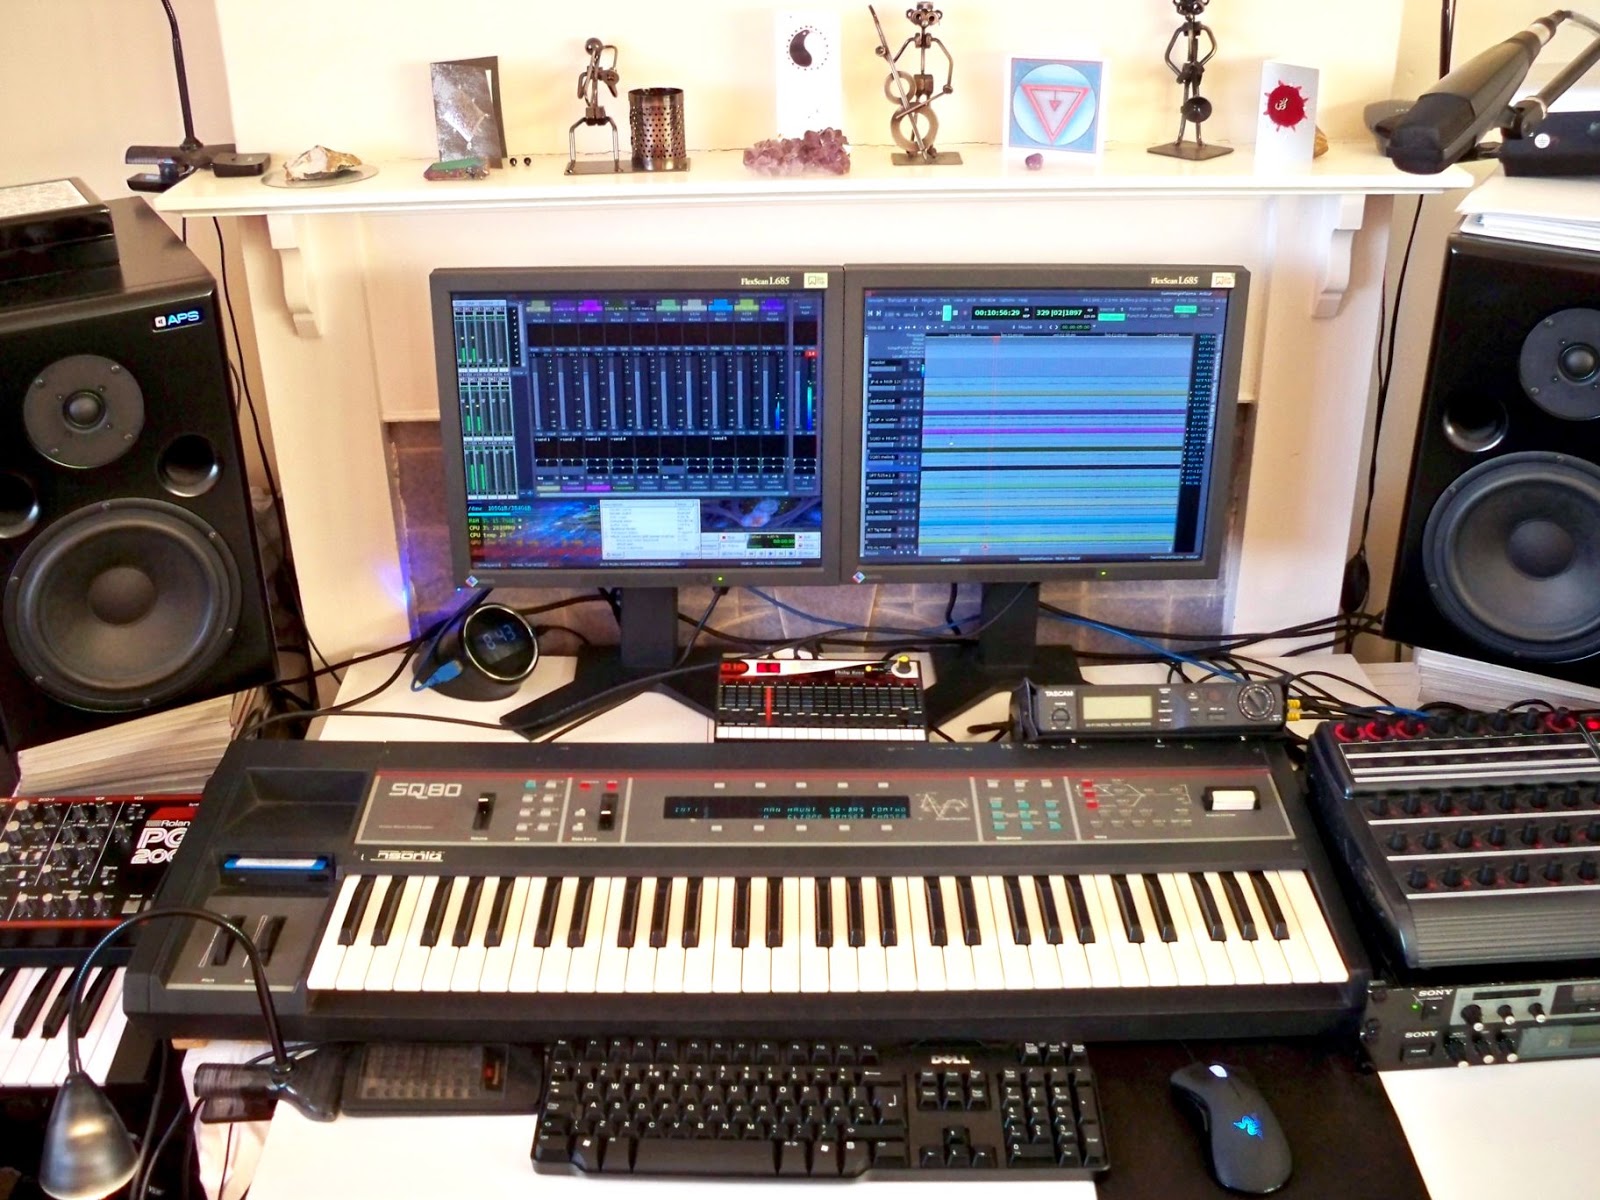 |
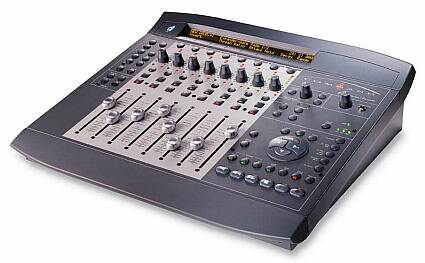
| Normal Home Studio Set Up |
So you’ve
decided you want to do more of this stuff we call “music” or maybe just plain
audio related stuff. You at least want to be able to record your friends or
make music yourself, but you’re not quite sure (microphone pun) where to
start. There are so many options out there and investing in the wrong thing can
be costly. Making investments in the correct things in the correct order can be very important! It will make
growth and life easier, not to mention give your wallet a break. So let’s
look at the essentials to getting started in building your own studio!
Note: I’m sticking mostly to digital methods here. They are a much less expensive way for a new person to get started. Digital knowledge is essential in any position these days and as time goes on and you get more of an idea about what you want to do it will be up to you to decide if you want to go analog. I totally recommend it, but it is reserved for the determined and the non-financially challenged.
Selecting a Location
Location refers to the building or room you choose to use. The room(s) you choose will influence your ability to hear, record and mix your music. I will only focus on 1 room options, but it is recommend that you expand to isolation booths, machine rooms, tracking rooms, and mixing rooms. If you are considering expanding like this then it is highly recommend to consult a studio designer. The advice in this section is for making the most out of an existing room.
1 Room Options:
Let's say you only have one room to work in. Maybe it's your garage, or a corner of your bedroom. Can you make professional quality sound in such a space? Yes! With the technology of today you can! With that in mind it will be key for you to get equipment that produces (pun) little and preferably no noise as everything will be happening in one room. The shape of your room and the materials you use to acoustically “treat” your room can be cost effective and very important. If you want your room to be an ideal recording and mixing environment then follow these tips,
1.Choose a room that is symmetrical.
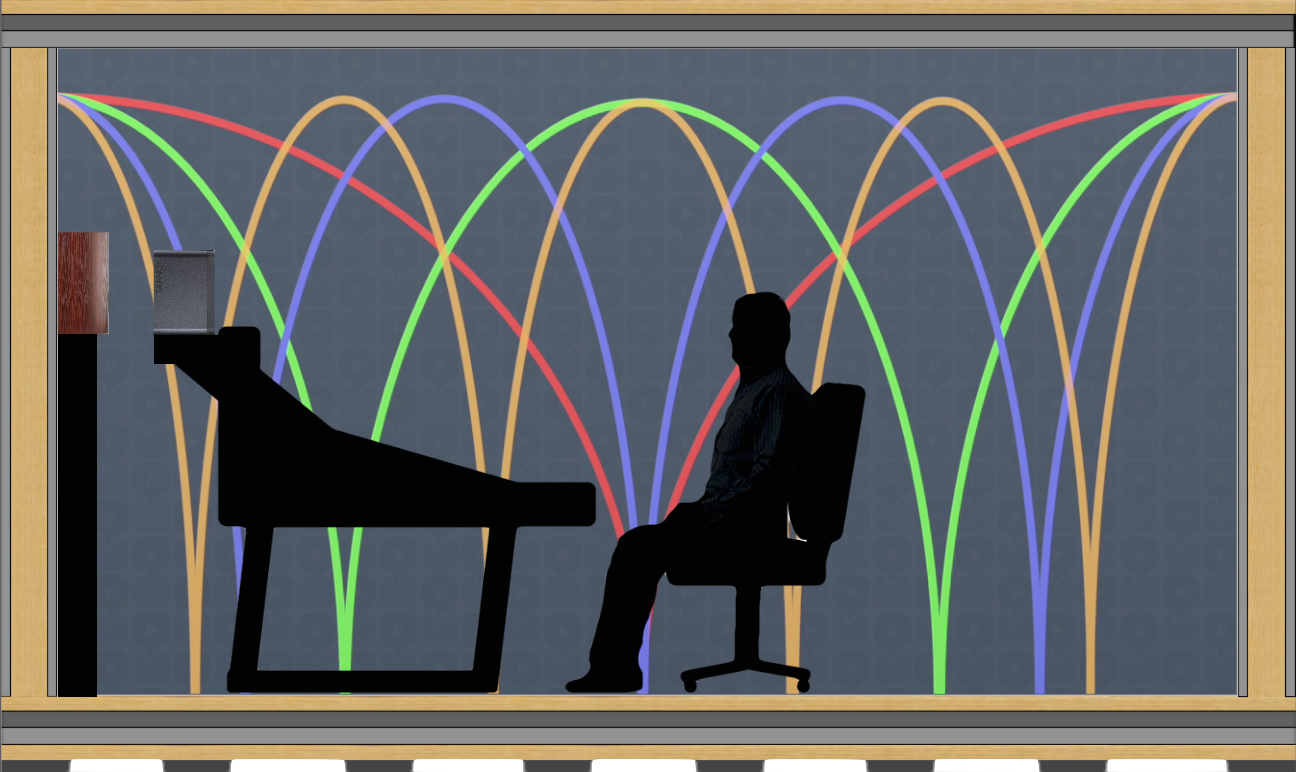
 |
| Good set up for sound. |
A symmetrical room is very important! When you are listening to, mixing, or recording music you will want the “space” of your room to be accurate. If sound is bouncing off walls in chaotic ways then your recordings will come out less clean. It will also mean that microphone placement will not be true. When you place a microphone to record a specific spot additional reflections of the room will change what you “think” you are recording. This is true for mixing as well. If you place your monitors (this is a term for speakers if you are very new) in an untreated room then when your pan sound (Move the sense of sound between two speakers) it will be an untrue panning because your room will give you additional reflections at uneven intervals. Additionally you will have volume build up in your room. Typically bass will build up in corners and create “frequency pockets” in your room. This is very problematic because when you play your song in your room vs in the car it will sound like a totally different song, often with way to much bass or little to none! So the treatment of your room becomes essential!
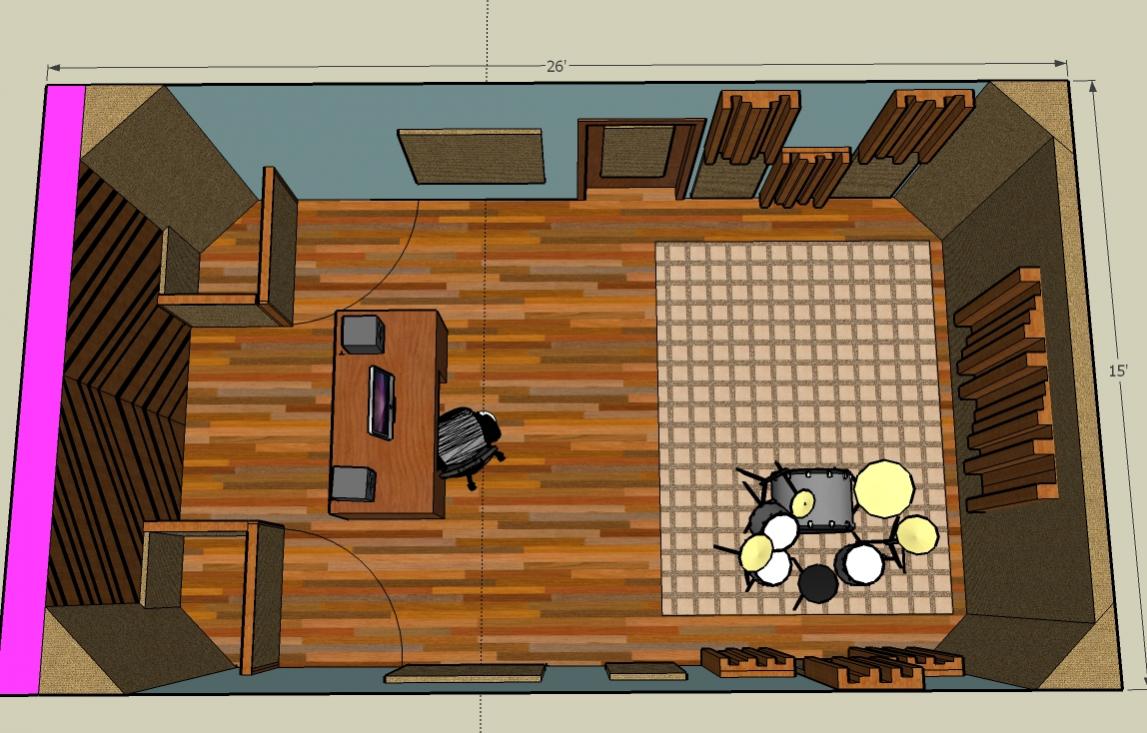
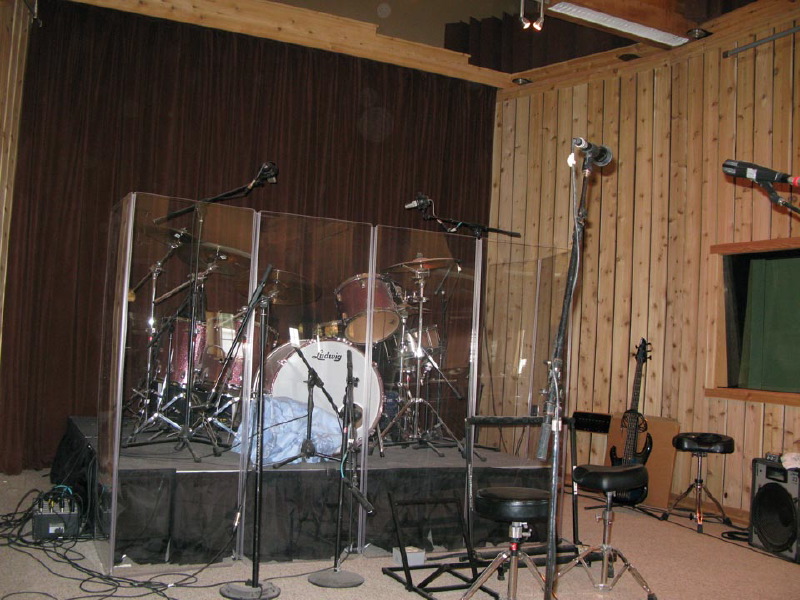
 |
| Larger Studio Set Up |
2. Treat Your Room!
There are generally 3 ways to go about this, and they are in the order not so good, better, best.
- Learn how your room behaves, “treating yourself”. This is the cheapest method and can be an effective way to deal with things. If you choose this method it will take a lot of experimenting to find your “sweet spot” in the mix. Choosing this method will damage your ability to mix in proper facilities later on because you will be used to mixing for your rooms "sound" and not as the sound really is. This is the worst option and should only be used if you do not plan to progress into higher facilities.
- Use high-end headphones. You do not need to drop $500 on a pair. There are many fabulous and accurate options out there. Even studios with advanced monitors and treated rooms will have high-end headphones because of the increasing amount of people who listen on headphones. This will also be needed to track (record) and overdub (record) as well. It may be the answer until you can upgrade. When buying your headphones be sure to get low impedance headphones! High impedance demands a higher load be placed on the headphones, and are for large production studio use generally. Look at the section on Monitors below as the same guide lines about frequency apply when making a purchase. Some good headphone options are Sony MDR7506, or Sennheiser HD-280 Pro.
- Treat your room! Corners of a room are generally good to put foam in, as this is where volume and unwanted reflections build. You can get fancy and get foam made specifically for this at Guitar Center, Sam Ash or other professional outlet, or you can go cheap and use thick blankets, and regular foam. A single block of professional studio quality foam will run you about 40 to 50 dollars. Some studios use special wood or mixed types of plastic that have been made for sound isolation.
What is your room made out of? Some Materials heavily refract sound while others absorb it. If your reading this then you'll probably have to live with the rooms you have at hand. Eliminate all gaps in construction as possible as these gaps allow sound to transmit easily, such as under door openings. Generally carpet is a good move for consuming sound.
 Static waves, Avoid this at all costs. These waves will cause you to lose your sense of volume and spatial positioning. Static waves are when you place your monitors perpendicular to parallel walls. As a result you get waves that bounce back and forth endlessly. To solve this, simply put symmetrical curved/angled surfaces on your walls. It can be foam or another material, but you really just want to symmetrically break up these waves.
3. Build your own Isolation Booths!
You can set up blankets around a singer as a way to isolate their sound or any other number of makeshift options.
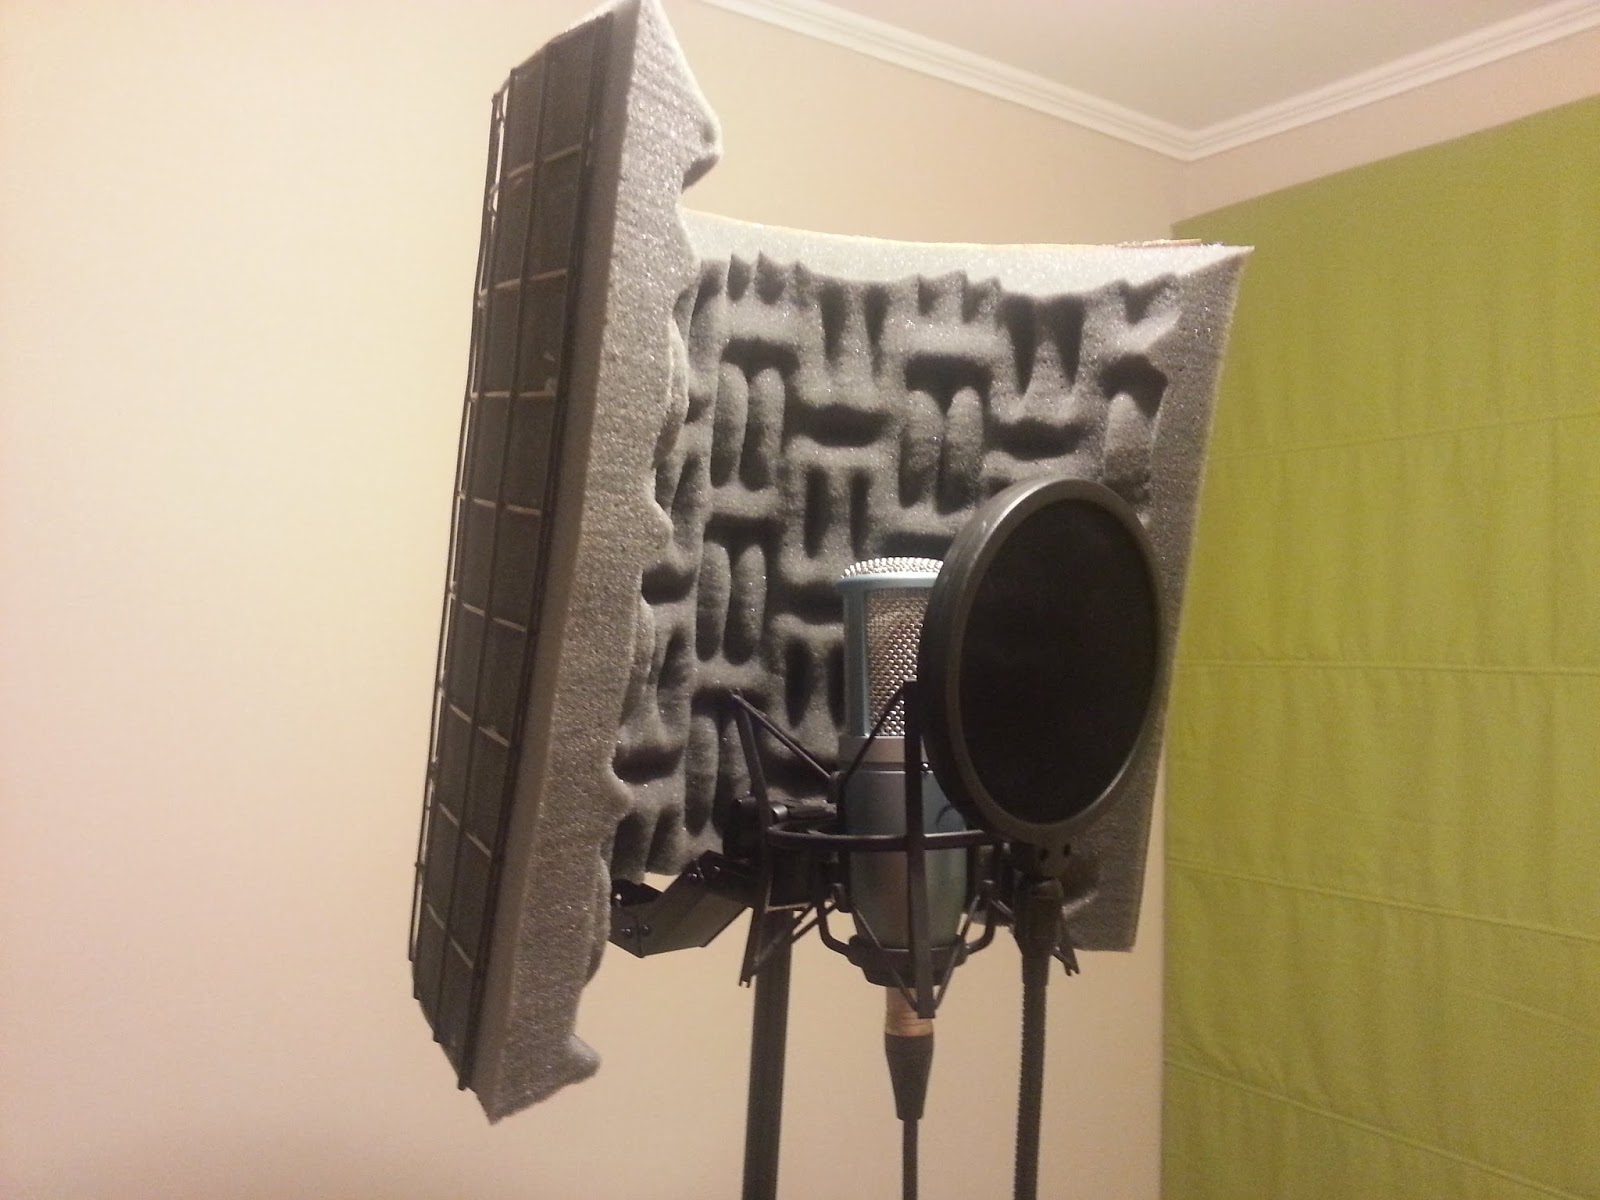 |
| Home Made Vocal Booth |
This is a good start to getting your studio sounding much better without paying way more!
Recording Hardware
I am going to go bare bones here as I started nearly broke when I got into music.
There are essentially 6 things you need to start recording! You will need a computer, an audio interface, a microphone, a midi controller, monitors and all the proper cables.
1. The computer

This can be pretty cheap compared to how much it used to cost a few years ago. Choosing Mac or PC is becoming less and less of a battle. If you don’t know either very well then choose Mac. It can run PC programs using a program called “Boot Camp”. Mac is generally what you will find in studios. If you know PC really well then stick to it. As technology progresses the differences in these computers and their compatibility with each other will become smaller and smaller.
Another big question is should you go laptop or Tower? Laptops are portable and because of increasing technology it is now a very good option. It can allow you to bring your whole project with you and work literally anywhere. If you are serious about power and speed then the tower is the way to go. It is easier to expand and cheaper usually as the parts are a bit bigger. Towers also have the advantage of being easily expanded and modified. Keep in mind that noise may become a problem no matter which one you pick. There are some computers out there that have low noise options and towers can be modified with fans that slow down when the computer doesn’t need it. Watch out for overheating your system! Make sure you have a set up that allows your equipment to stay cool, overheating can cause permanent damage.
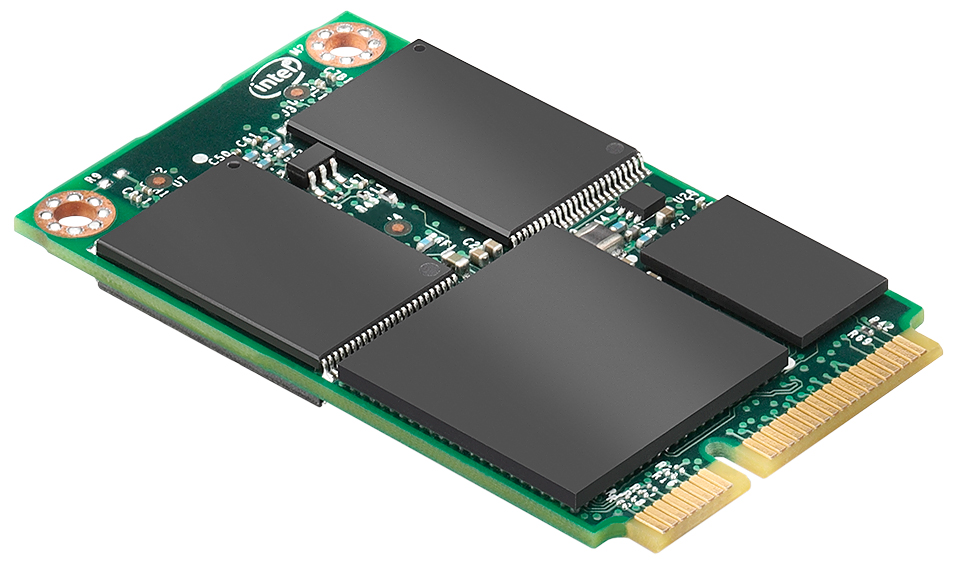 |
| Solid State Drive |
The specs of your computer are far more important. You will want fast memory recall because the samples on your memory medium will be called from this. If possible get a solid state drive (SSD). You will not regret it, but a normal hard disc (HD) can do just fine as well. 1 Terabyte is plenty as far as memory is concerned. You could go as low as 500gb but I wouldn’t go lower. You may consider a mix of HD and SSD, as SSD’s are expensive.
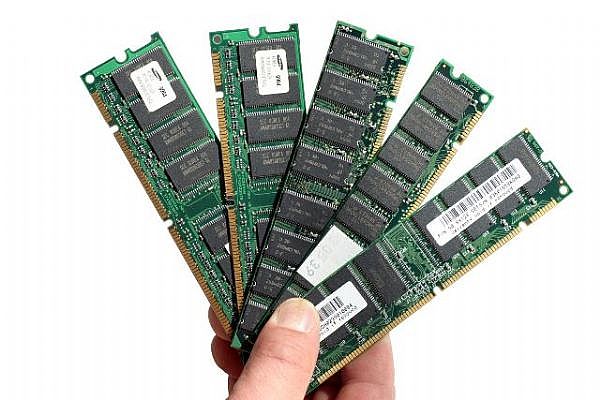 |
| RAM |
You will want as much RAM as possible. 16 gigs is a great amount, you can make 8 work depending on what you are doing. RAM is responsible for getting the samples from your disc to your program. As far as processors go, they are getting so fast now it is almost not an issue. An Intel processor is a safe bet for PC and Mac comes with plenty of speed. A multi core computer is an important consideration to. It can influence speed heavily as well. 2 cores can work but the higher you can go the better. This will probably be the most expensive part of your computer. Most computers are 4 cores now but be sure to check! Note that if you are using a laptop you should run it on its “High Performance Mode”, as using a lesser mode will lower the power based on needs during processing causing clicks and pops, and can make recording a nightmare. Trust me, been there, done that.
2. Monitors
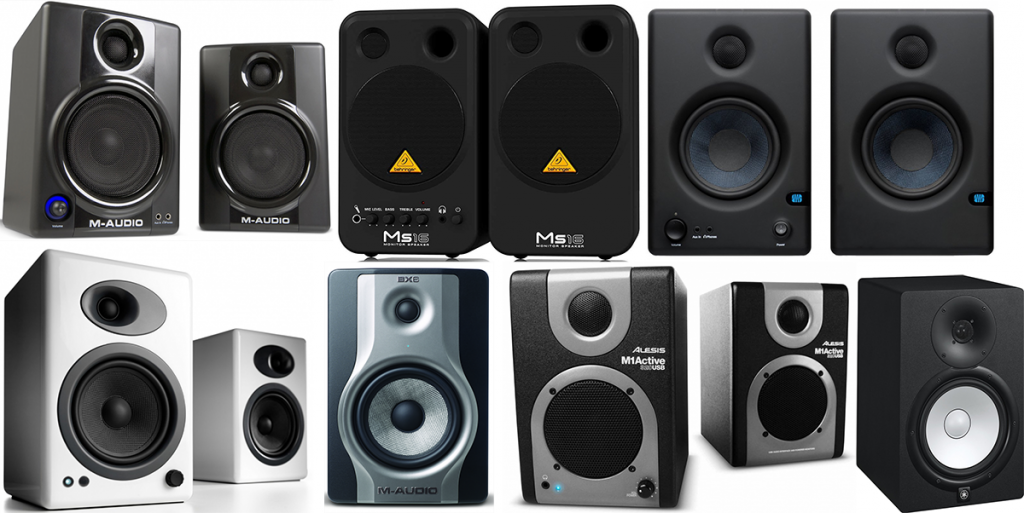
Monitors are another word for Speakers and they are key! You will want a pair of stereo monitors, one for left output (audio) and one for right output. You will also want monitors that give a true representation of the frequency spectrum. Some boost the bass or even cut the mids and highs. This will mess up your ability to master a song for multiple devices. You can usually go to a store to hear their speakers live and the speakers should also come with a frequency response graph. This graph is shown later in the article in the section on microphones.
Watts is a buzz word you will see on speakers. All you need to know is that the more watts you get the louder your speakers can go without distorting. Around 50 is fine, more then that’s just a bonus.
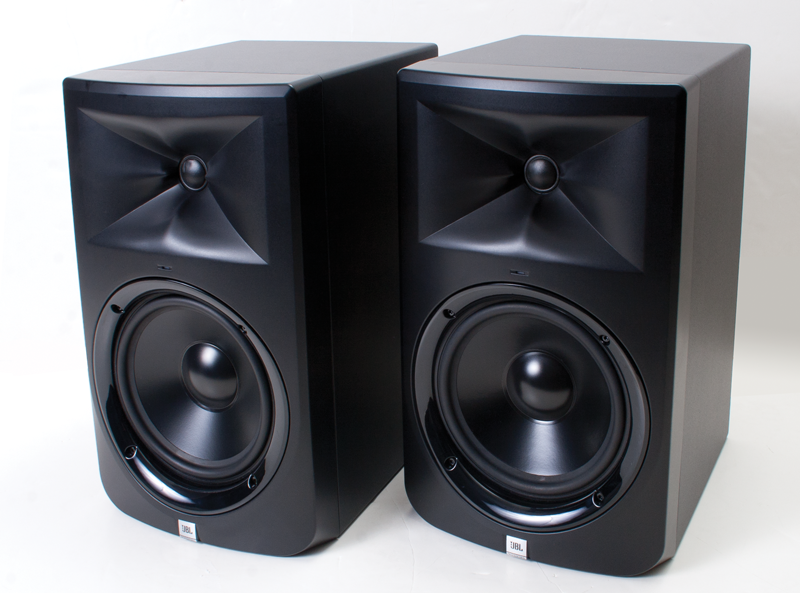
There are many great manufactures out there, I recommend JBL personally, JBL LSR305 5" Active Studio Monitors work great, but there are many other great options. Checkout your local music store outlets, and browse through their monitors. Just remember to keep the frequency spectrum in mind! When you do decided to get some monitors do not short change yourself, a real set of monitors runs about $300 and will last much longer than other pairs so long as you keep your volume levels reasonable, look for clearance sales and discounts! They are frequent!
While we are on this subject I want to bring the safety of your ears up. Your ears are key to this whole thing, so treat them with safety. Sudden sounds can cause permanent damage to your ears! Long term exposure to sound can cause damage as well, such as wind from a car window rolled down. This is because the hairs in your cochlea are being continuously bent, and if you keep them bent for long enough they will just stay that way. Just be aware of these situations. If you are in a room so loud that you cannot hear the person screaming next to you then you either need to leave or wear ear protection. This is a matter of your ability to make music. Don’t be stupid. Wearing no ear protection in a loud room is like an aspiring artist staring at the sun for a few minutes every now and then. He will pay the price as time goes on.
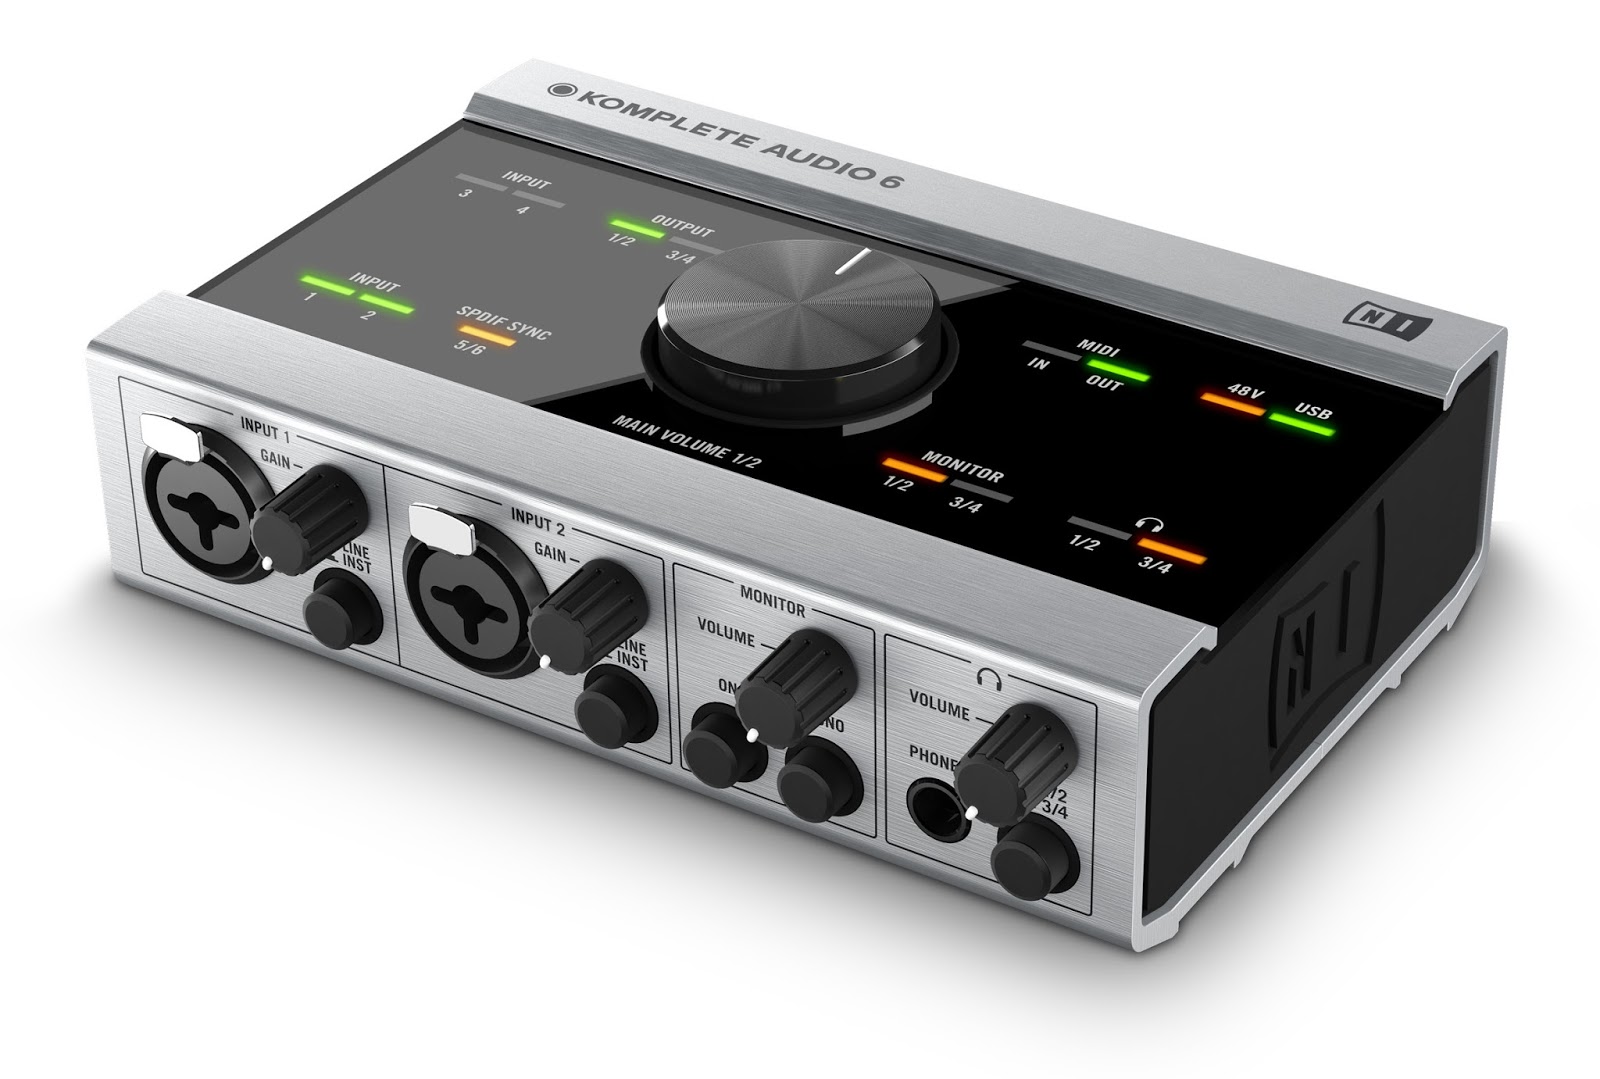
3. Audio Interface
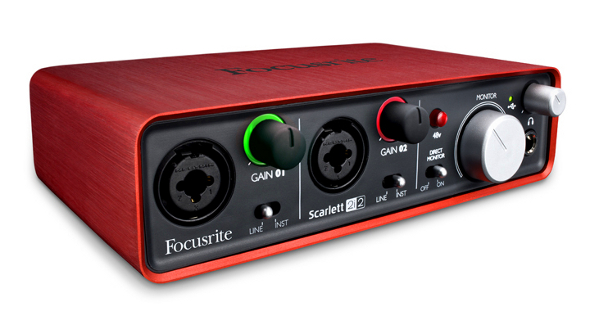
An audio interface allows you to record directly into your equipment. I will talk about the USB audio interface in this section as that is the one that is the most straight forward in getting audio into your computer. In some cases microphones also double as an audio interface such as the H4 by Zoom. An audio interface has connections on the front for line in and/or microphones (sometimes only one), usually a pre amp of some kind is built in, headphone inputs, volume knobs, and phantom power is also an option on most models. On the back they have outputs for speakers and other devices, midi, and the input for the USB cord. Most of these devices also have an audio driver built into them. To get started I recommend finding one that offers all these features. It will be the most bang for your buck. Later you can consider adding gear to this basic audio chain.
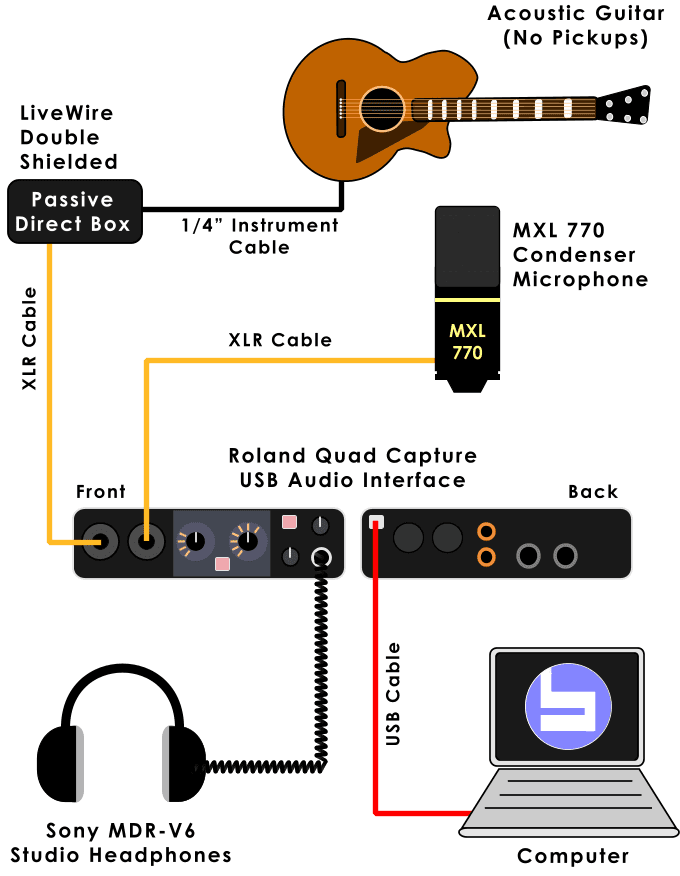 |
| USB Audio Interface Routing |
There are several options that have everything listed above. I suggjest using
Creigs list or other deal finder, but if not there are a few options out there. The Focusrite 6i6 or 2i2 is a great option for things such as this , there are other much cheaper options. Just be sure to do your homework before you buy, a product that works awesome and lasts years is worth way more than one that works ok and breaks after a year.
4. Proper Cables
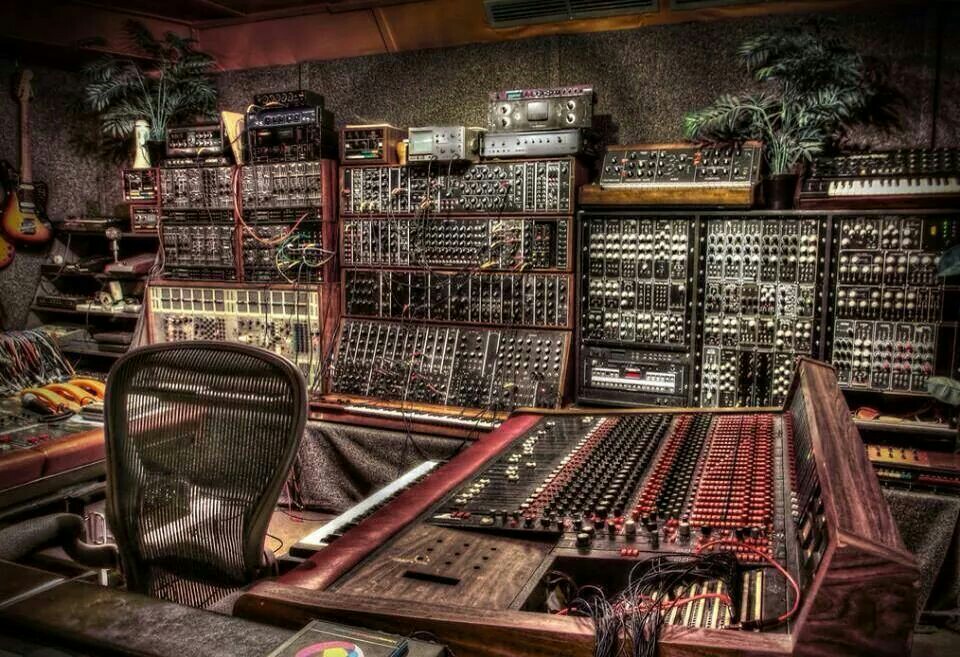 |
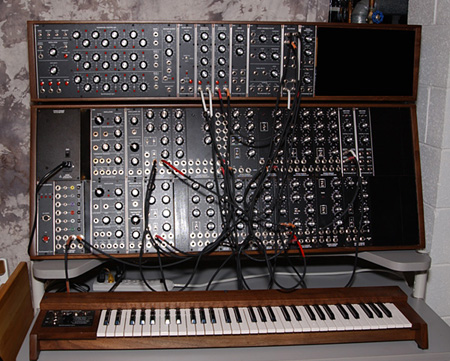
| Modular Rig, Mixing Board, and much more |
How can this be a category on its own? If you are asking that then you will find out when you visit your first real studio. There are millions cables out in the world that do all sorts of mumbo jumbo. There are a few that you should have on hand just in case.
- You will need an XLR cable. This allows you to connect microphones to your audio interface.

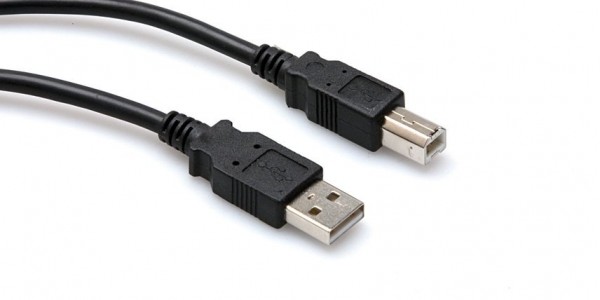
- It's wise to have a USB expansion cable. There always seems to be one cable that isn’t long enough. USB is usually the culprit.
- A Midi Cable both 5 Pin and USB – This allows any keyboards or midi controllers to talk to your computer. If you decided to go without an audio interface ( I used a mic with a SD card for a while) then make sure you get a MIDI cable with MIDI to USB options if you plan to include midi controllers such as keyboards.

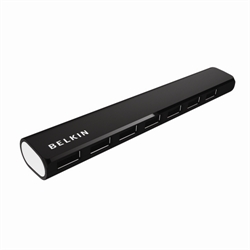
- A USB separate Power Expansion Port – You will run out of USB slots as some point or your computer won't be able to power the individual slots on its own. It’s a wise investment.
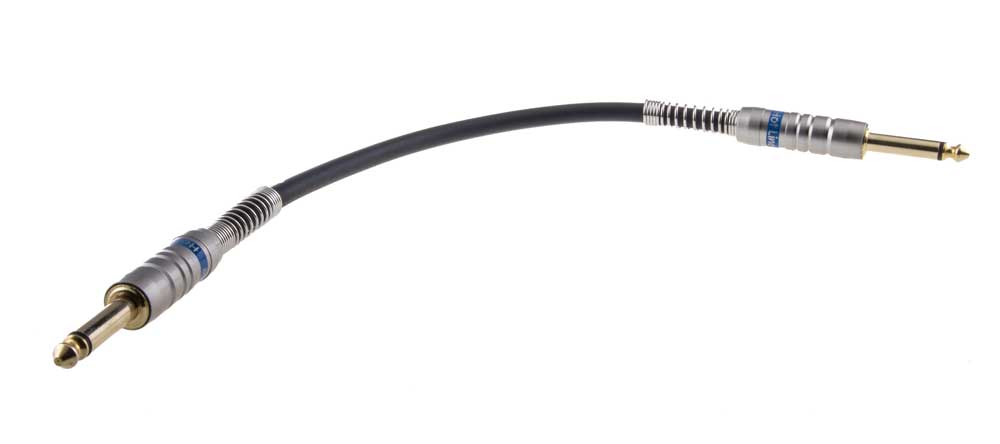
- A Line In Cord- Electric instruments can plug right into your audio interface and record straight into your computer. A useful option if you plan to re-amp sounds later or just gets really clean recordings.
- Headphone Splitter Cable – This can make it so much easier to listen in on an overdub if headphone inputs are limited.
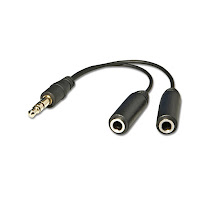
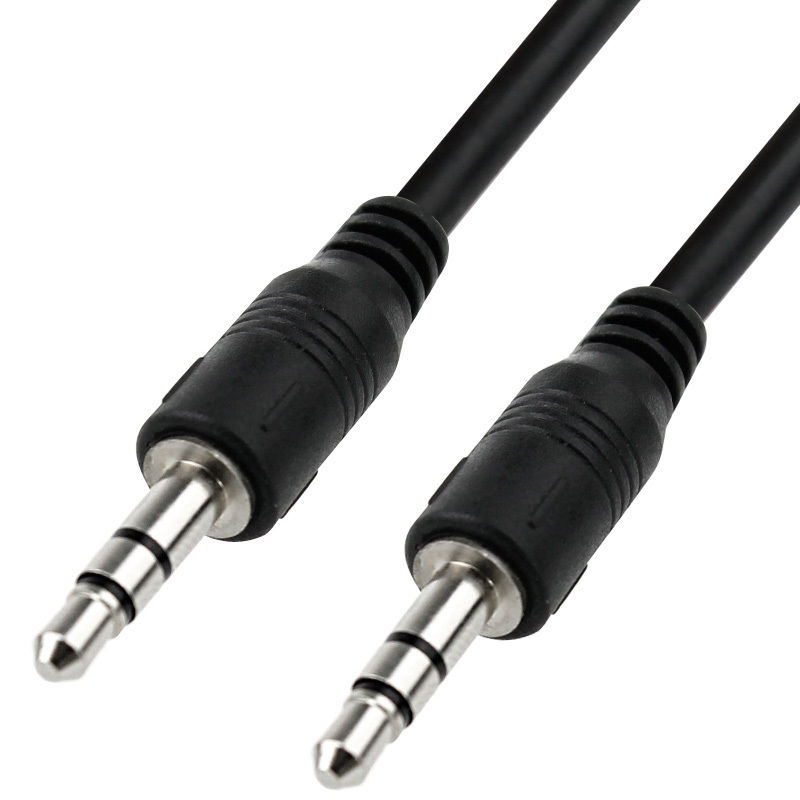
- AUX Cable – A must have. Just buy one. You’ll need it at some point. It lets you connect two audio ports to communicate signal.

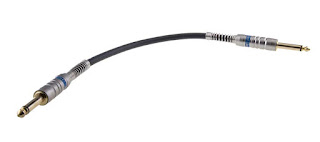
- A 1/8 to ¼ inch adapter – get this and Vice Versa, and get several. These guys are helpful as they reduce the need to buy cables of each kind and lower the amount of clutter in your room.


Unbalanced vs. Balanced – You may be confronted with this. In a nutshell, if you have a mono source going to an input such as a guitar to amp, or a monitor to audio interface you will need an
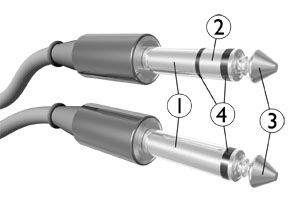 unbalanced cord. Balanced lines are for carrying stereo information. This is a whole other topic. You can easily tell if it is balanced or not by whether or not there are 2 rings around the connector of the wire or just 1. 1 is unbalanced, 2 is balanced. In the case of separate monitors, 2 unbalanced lines would be used, one for right, one for left, given that you have two inputs.
5. A MIDI CONTROLLER
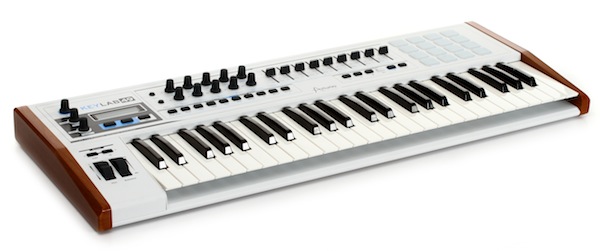
This really isn’t all that necessary, and can be outrageously cheap to outrageously expensive, but is an awesome tool! In a nut shell you can plug any device that supports midi communication to your computer to control your DAW! Including control over parameters (effects), synths, and sample
 triggering! This depends on your controller of course. Midi can also be used to link synths, and just about anything else that takes midi together! Be sure to check if it is a USB midi, or 5 pin. Many are turning to USB these days. If you’re buying it new then your controller usually comes with a midi cord. You can hunt for really cheap midi keyboard options in thrift stores. More extensive controllers sometimes come with integrated software; such is the case with native instruments Maschine, which is essentially a DAW with a ridiculously awesome midi controller. Some people use Maschine and its DAW by itself to produce music!
I feel like I should add something about “real” synthesis here. The difference between digital and analogue synthesis is that analogue shapes electricity to convert back to sound pressure waves
 (sound). Digital synthesis uses sample and bit rates (binary code). As a result analogue synths are heavy devices capable of insane things, especially if you have extensive knowledge in sound design and electronics. Not very befitting of a beginner interested in recording and producing, but easy enough to route into your computer given you have the correct connections, or microphones. These devices do not always use midi, but I thought it is worth a mention. This is one of those things that most people would like, but don’t get until later because it is expensive.
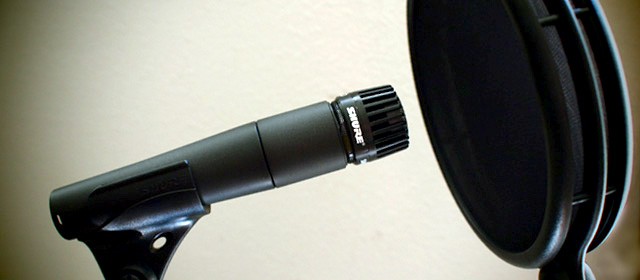
6. Microphones/Amps/Pop Filters
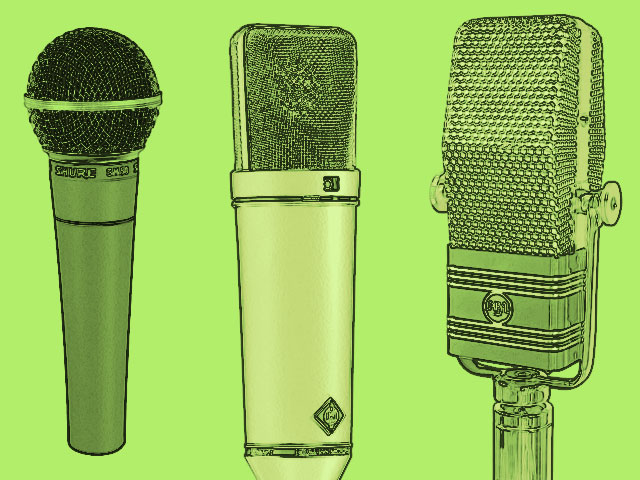
A great rig, with a great singer, a great performance, and bad microphone equals a total crap song. Pretty simple. There are 3 main kinds of Microphones, they are:
- Dynamic
- Ribbon
- Condenser
These types are based on the way they capture sound. I recommend getting a dynamic microphone and a condenser microphone, because the best way to learn these things is experience. These microphones have different "sounds", and it is your call on which you want to use. Condenser microphones are generally favored for voice recordings while dynamic mics are generally used for things like drums, all this depends on the microphone you buy of course.
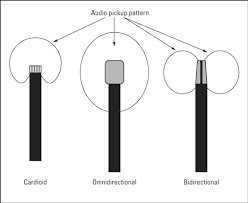
Microphones have different pick up patterns, be aware of them. Perhaps you will find it easier to have a directional mic so that you do not need to worry about noise as much, or maybe you want a bi-directional mic for duets. Some mics are even capable of switching between these patterns.
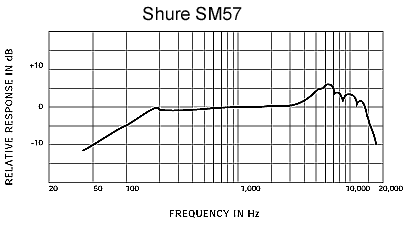
Pay attention to frequency response! Your first microphone purchases should generally cover as much of the frequency spectrum as you can. You want to capture it all with little need to buy more unless you are made of money and can afford to get more specific microphones. The SURE SM57 is a great all around dynamic microphone. At $100 dollars it’s a great buy. If you are just starting this a good first step. It can be used for drums, vocals, and any number of other things. Condenser mics are
 many, the MXL 990 is good option. With microphone you generally don’t want to drop below $100 dollars. That should be your starting point. Finding reviews to see quality and longevity is a great idea to. Consider what you will be recording mostly and find a mic that can deliver that. Also be sure you have the connections, stands, and adapters you need before buying! Some microphones brands such as Samsung have specific mic stand adapters. Its stinks to get your super awesome microphone and then not be able to use it!
 AMP's
AMP's


 many, the MXL 990 is good option. With microphone you generally don’t want to drop below $100 dollars. That should be your starting point. Finding reviews to see quality and longevity is a great idea to. Consider what you will be recording mostly and find a mic that can deliver that. Also be sure you have the connections, stands, and adapters you need before buying! Some microphones brands such as Samsung have specific mic stand adapters. Its stinks to get your super awesome microphone and then not be able to use it!
The photo above shows pop filters. Some mics have this built into them and some don't. A pop filter keeps P's and S's from distorting on a microphone when speaking. A must have for vocals. If you don't want to buy a fancy one then just drop a beanie on your mic and boom! Instant pop filter. Its literally that simple. Pop Filters can also be used for wind reduction and many other things. Get creative!
 AMP's
AMP's
Most microphones are not powerful enough to record and produce a signal strong enough to get a loud enough recording so the signal is amplified. Some mics have them built right in! Your audio interface should have one.
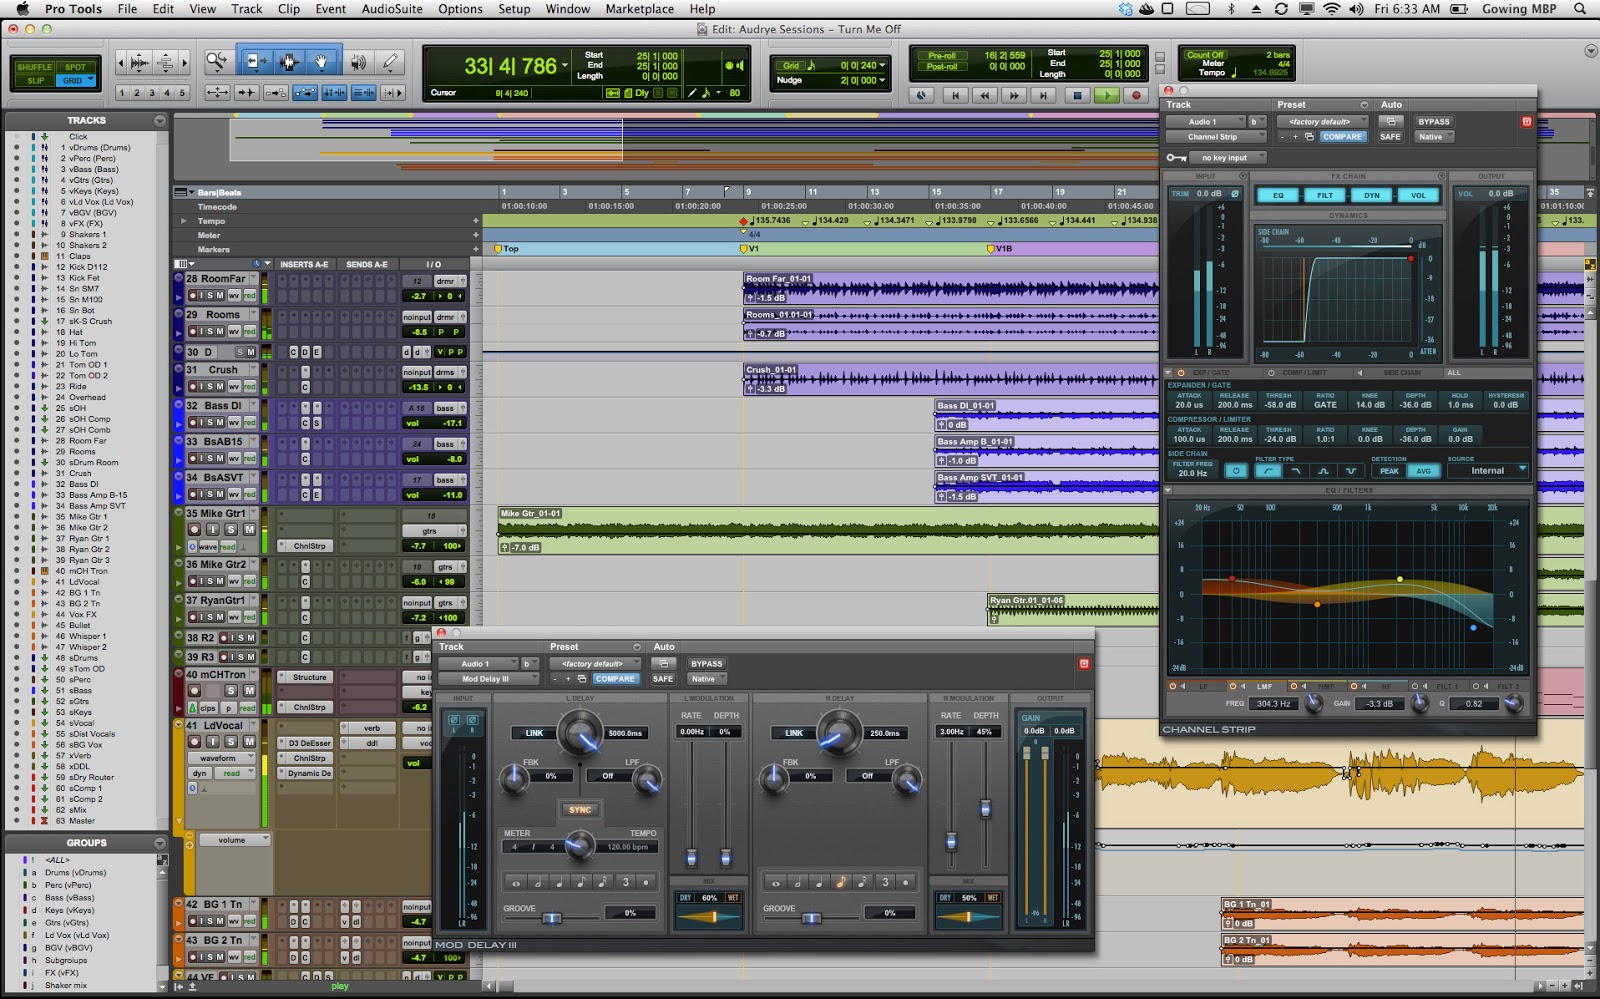
Recording Software

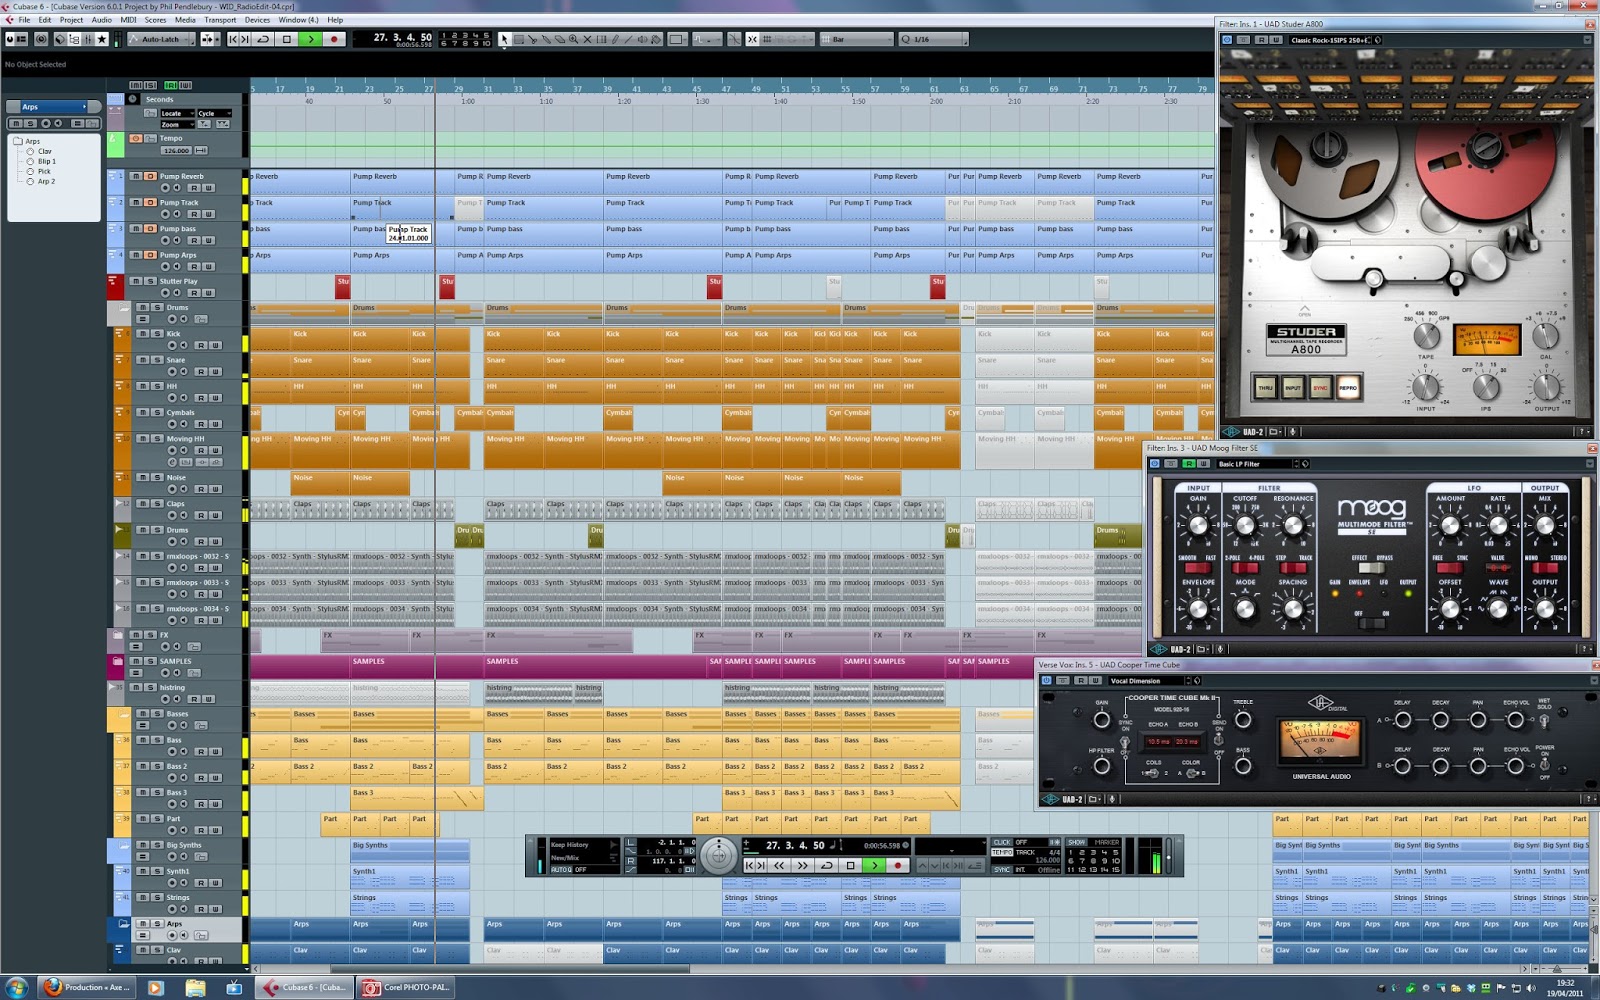
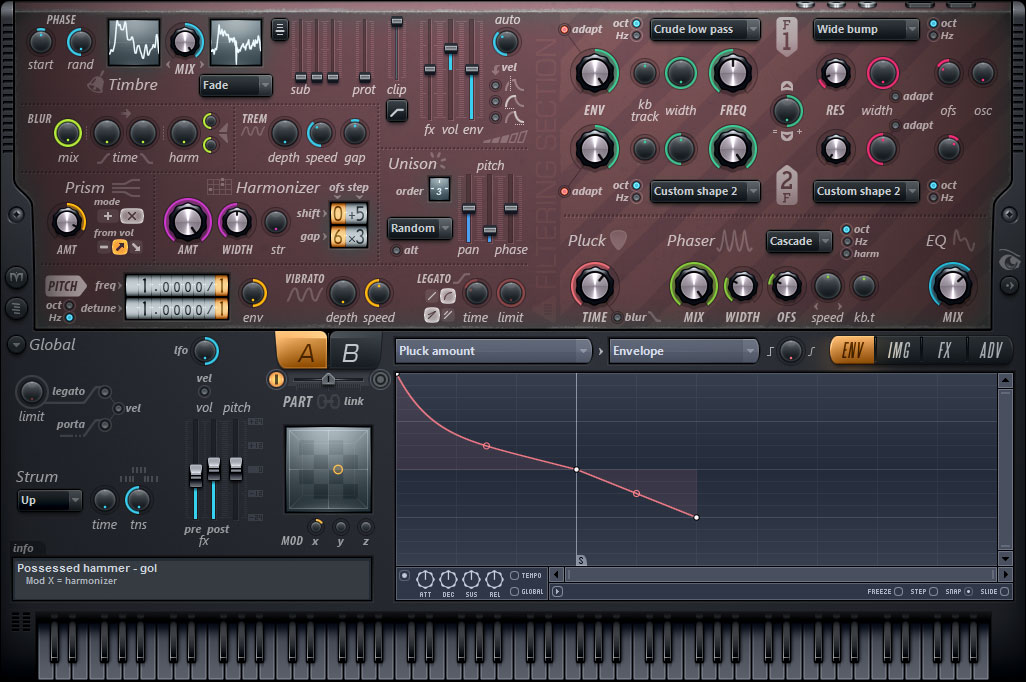
If you’re like anyone else you have probably heard of Pro Tools, or FL Studios. These programs are called Digital Audio Workstations (DAW) and are needed. Just buy one, you will not regret it. They come with a vast palate of mixing controls, plug-in’s (effects and instruments), VST’s (Your instruments), and the ability to record and sequence MIDI and Audio. This is basically your studio. Fork out for the full version to. If you're serious, you will pay for the whole thing. Behind the computer this is probably your biggest investment, but easily you’re most important investment.
Best DAW?
Is there a best DAW? NO. PLEASE NO. When selecting your DAW it is important to consider what you think you will be principally doing. Then look into the history of the DAW you are considering. Usually if a DAW started developing with what you want to do (such as sequence music or record bands) in mind they will have better streamlined workflow for that particular thing. As a general rule though, knowledge is power. You can do anything with any DAW now days; it’s just a matter of figuring out how it works. Take a look at the artists you like and see what they use.

There are free options but they are severely limited such as Garage Band. Look for deals on the DAW you are considering, and look at how their upgrading works when they come out with a new version as this can be expensive. Some DAWs such as FL Studios offer free upgrades for life, while others such as Pro Tools offers discounted upgrade costs. Once you become fluent in a DAW you will see that the main principles are pretty much the same in any other DAW. Watch out for DAWs that do not let you use 3rd party gear. This can be a bummer. Most DAW’s also offer demo versions which are a great way to learn if it’s right for you or not. Do not buy this in haste! Also, if you buy an academic version you generally do not gain a commercial license meaning YOU CAN’T SELL WHAT YOU MAKE. Just an FYI.
As a brief side note, if sheet music is your thing Cubase, Finale, or Sibelius are great options but be sure to look into these! Cubase is a DAW the other two programs specialize in sheet music creation. You can integrate them into a DAW using a plug-in like ReWire.


3rd Party
3rd party software will come along at some point. Perhaps you are looking at expanding your instruments and effects or want to see what the latest tool for audio is. Here is a quick general guide as these are very tempting tools and I sorely wish I knew more about them earlier on.
Sample Play Back

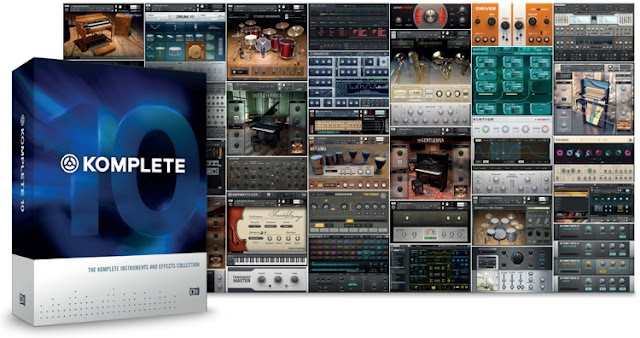
Are you looking for great strings, brass, woodwinds, guitars etc… Well, you are looking for a sample play back library and engine. There are a few contenders out there, and they are expensive but they are well worth it. What a sample play back engine does is takes a sample of an instrument and pin’s it to the keyboard using any number of methods so that you can play it via midi. The sounds can be literally anything and the libraries can be complex, HUGE (memory wise), and processer intensive. The two main ones to consider are Komplete by Native Instruments, and EAST WEST QUANTIM LEAP, there are others,
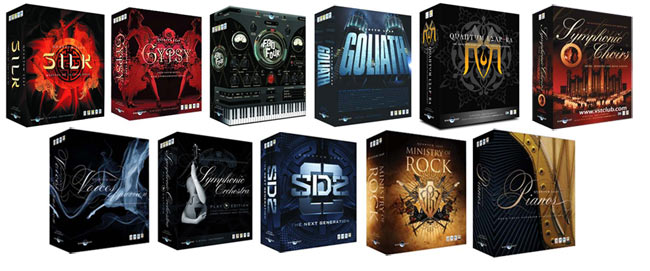
but these in particular are important first buys. East West recently became a subscription service making it much more affordable. Komplete, is actually a HUGE collection of amazing tools. Many other sample library developers use native instruments play back engine “Kontakt” (included in Komplete) to play their samples, so that will be a useful buy if you plan to expand not to mention the shear amount of tools you will suddenly have.
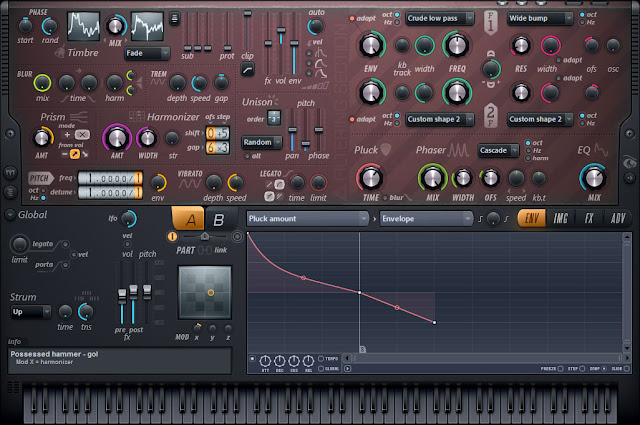
In the 3rd party family there are many synthesizers. New people tend to rely on presets. I get it, it can be a great creative resource though I think it can be overused from ignorance on how to make your own sounds. Some soft synths (Software Based Synthesizers) thrive on this concept, such as Sylenth, or Nexus. While others are known for the power they give the artist. What I mean by this is there are a few basic kinds of synthesis and if you take the time to learn them (IT TAKES TIME) you can use them to make any preset you hear and even sounds that have never been made before! Example plug-ins are Sytrus or Harmor. Be sure to see what their sculpting and preset options are before you buy. “Effect” plug-ins (reverb, compression, delay, etc.) follow the same stereotype. Generally your DAW will have all the necessary plug-ins to make music!
Samples
This last bit is on samples. I wish I knew about this sooner. Samples are audio files you buy. They can be used in your productions, but make sure you are buying royalty free samples. Most larger companies are this way. Vengeance is a popular one and so is Black Octopus. Do not over use these and come up with your own samples!
 Nothing beats recording something and trying to make a great sample out of it! This stuff really impacted my music, as I do not have the greatest drum sets to sample and great drum sounds can change everything. Another note, you can build your sample collection by participating in remix competitions but these samples usually do not have very good drums, so finding a pack with some serious drumming ability is a wise move, depending on what you want to make.
Conclusion
There you have it! That should get your started! If you think I left something out thing please fill it in in the comments below! I know how much information there is to process and it's important to get a good grip on the basics. With so many branches of music the basics seem to be a pretty broad topic. Be wise in your decisions and never be afraid to ask a question! We all have to start somewhere!

*I am not an official representative of any of the above mentioned companies and cannot make any claims regarding their products nor enforce them.